
Fusion Generator:Kresty Style Build:Top
Back to Kresty Style Build guide page.
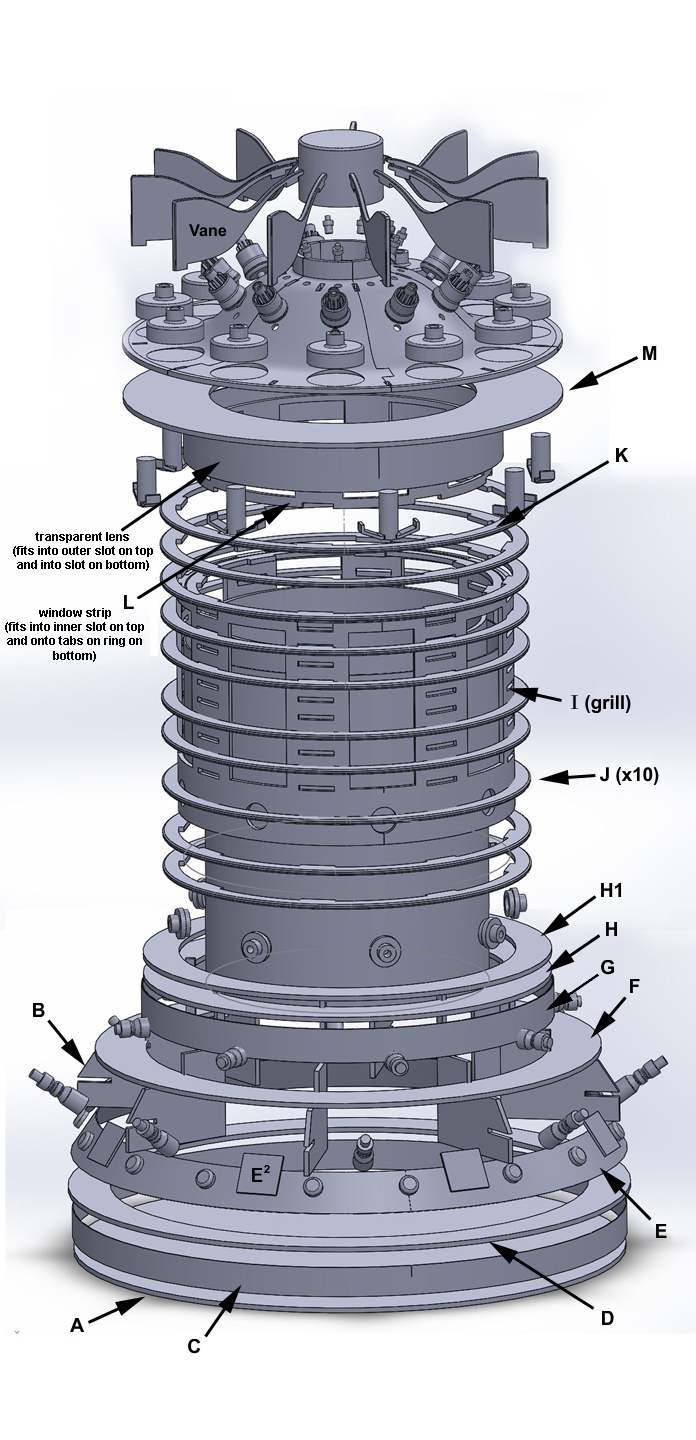
The top contains primarily 3D printed parts. It may vary a little depending on where you want to remove the top. Savage Creature's plans have ring M just below the 3D printed top segments, with the intent of removing the top from the M ring to access the inside. Kresty messed up and glued the ring to the top segments, so he left the J-top and K rings unglued so it can be removed there.
Top Segments
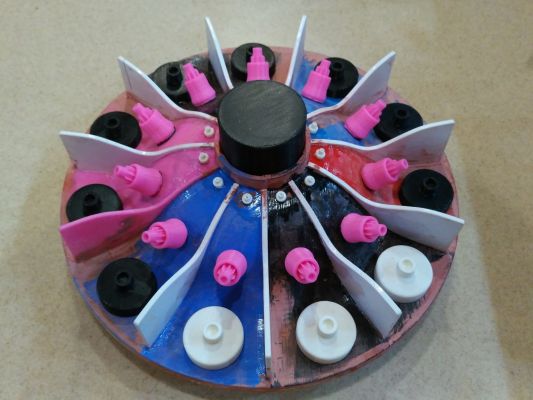
The top has 11 segments divided by the vanes. Probably originally an industrial motor fan. The foundation of our build's top consists of 5 "double" segments and 1 "single" segment. They have tabs on one side that lock into holes onto the other side.
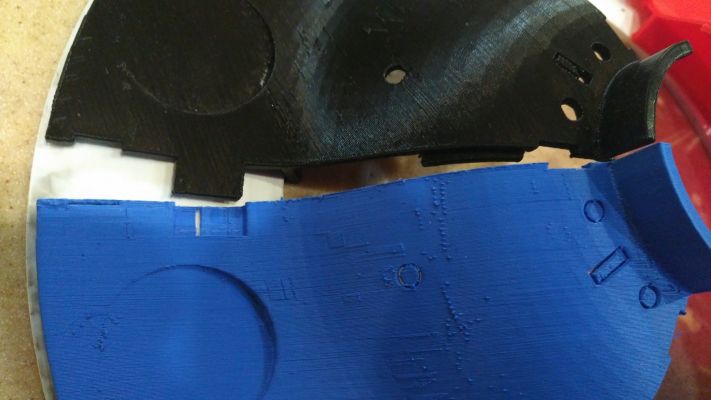
Each segment also has holes for the tiny "Coil Socket" at the top, and the "Heatsink" in the middle. The pad for the lower "Coil Mount" is at the bottom. The double segments and edges of all segments also have two slots for the vanes.
Those support holes need removed and the edges may need cleaned up.
Top Ring
The top 3D printed segments have a lip that fits into the top "M" ring. You may need to sand the assembled 3D top segments or the inside of the ring a little to get them to fit. (Your V3 "M" ring will have better mounting holes for the lower parts than my V1 ring pictured below.)
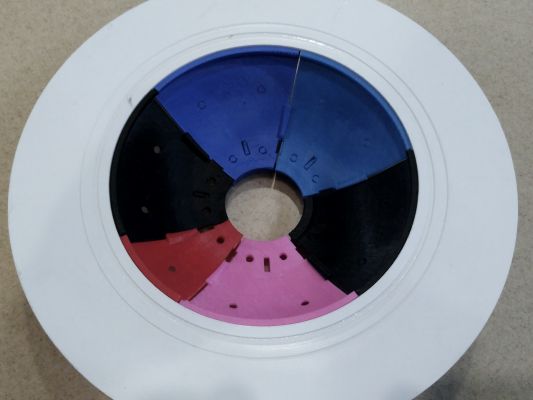
Savage's original plans expect for the top 3D segments and the "M" ring to remain unglued so that the top of the Fusion Generator can be removed here. I accidentally glued them together, so mine separates between the Jtop & K rings instead. Both methods have their own pros and cons.
Greeblies
We kept the top cap separate for painting. You may want to attach some or all of the segments, particularly the heatsink fins, after painting.
- The top cap fits in the middle of the 11 segments.
- Glue may not be required
- We painted ours separately so that it could stay silver-y.
- The 11 Vanes fit with their tabs in the slots between each segment.
- The 11 large Coil Mounts fit the recesses along the bottom of each segment.
- More details about the Top Coils themselves
- Holes for the 11 tiny coil sockets are on the top of each segment.
- The 11 heat sinks in the middle are 3 parts.
- The main part has a small post on the bottom and heatsink in the top center.
- You may want to paint the fins before gluing them to the main body of the heatsinks. (I split them up because I had difficulty reaching the insides of the heatsinks)
- Punch out the
Back to Kresty Style Build guide page.
Forward to Base Assembly